Building Your First AI Project with Python: Step-by-Step Tutorial

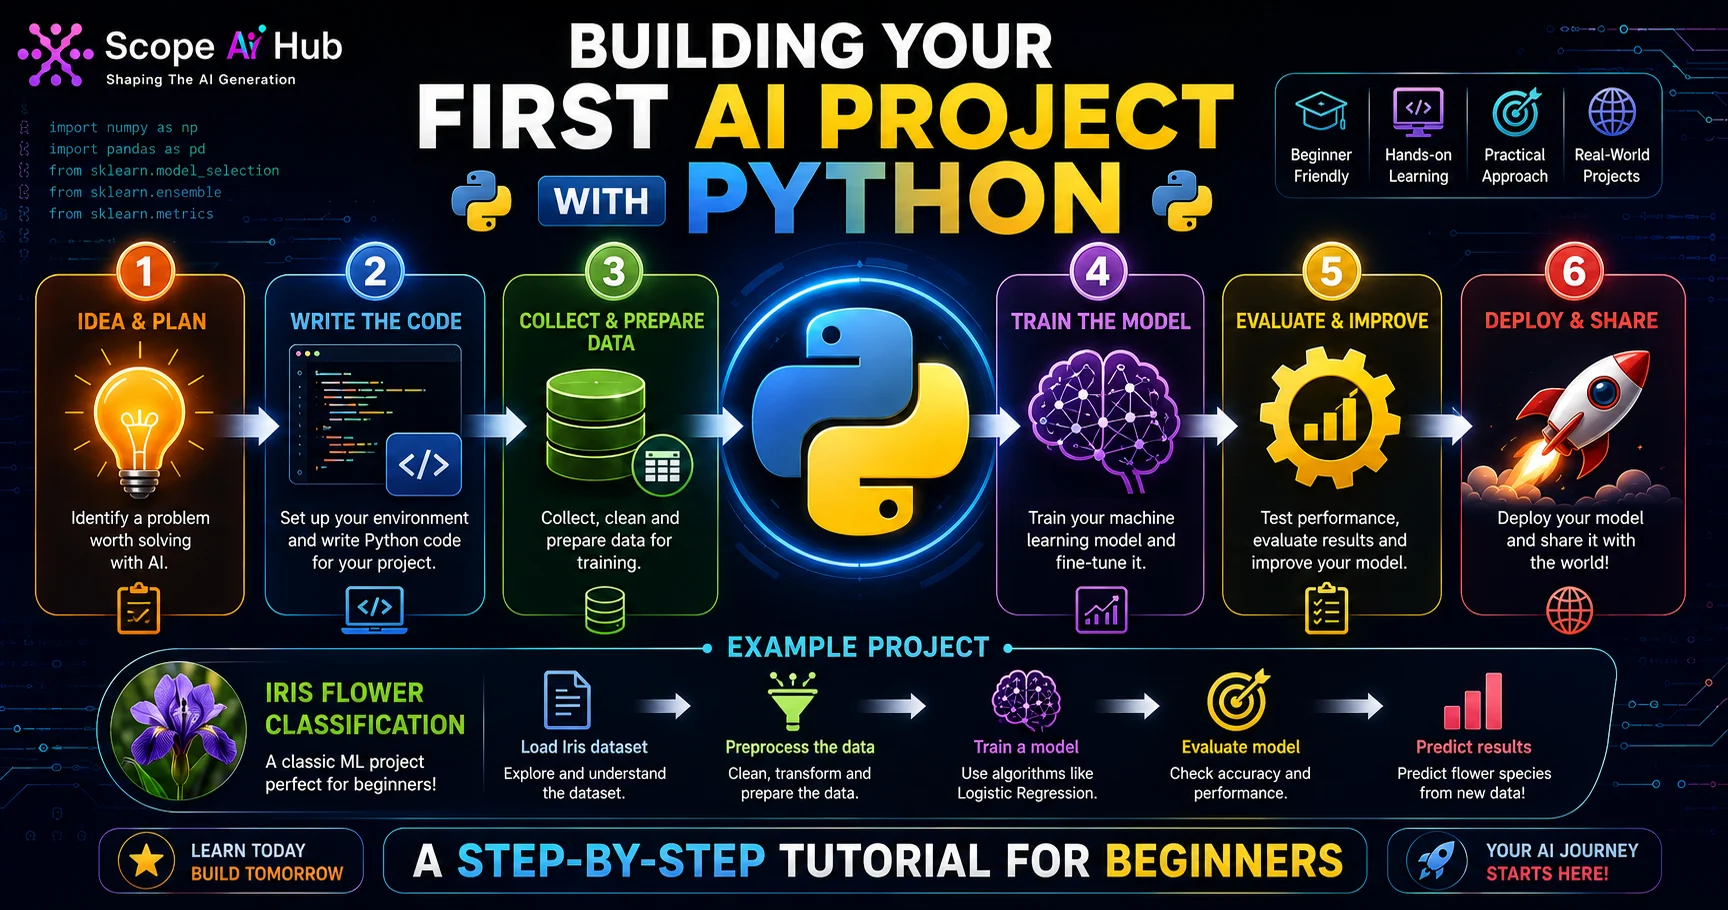
Reading about machine learning and building something with it are different skills. This tutorial walks through a complete project — a sentiment classifier that decides whether a review is positive or negative — and explains not just what each line does, but why it is there.
By the end you will have a working model and, more importantly, a mental template you can reuse for almost any supervised learning problem.
What You Need
Python 3 with a few libraries:
pip install pandas scikit-learn
That is genuinely all. No GPU, no deep learning framework. A well-chosen classical model handles this task well, and you will understand every step.
If installing locally is a hassle, open Google Colab and run everything in the browser.
The Shape of Every ML Project
Almost every supervised learning project follows the same seven steps:
- Load the data
- Explore it
- Split into training and test sets
- Convert raw input into numbers (features)
- Train a model
- Evaluate honestly
- Predict on new input
Internalise this sequence. The specific model changes; the sequence rarely does.
Step 1: Load the Data
We need labelled reviews — text paired with a positive or negative label. The IMDB movie review dataset is the standard starting point, but any labelled text works.
import pandas as pd

df = pd.read_csv('movie_reviews.csv')
print(df.shape)
print(df.head())
Step 2: Explore Before You Model
Skipping this step is the most common beginner mistake. Look at your data first.
print(df['sentiment'].value_counts())   # is it balanced?
print(df.isnull().sum())                # any missing values?
print(df['text'].str.len().describe())  # how long are the reviews?
Class balance matters enormously. If 95% of your examples are positive, a model that always predicts "positive" scores 95% accuracy while being completely useless. Checking this now prevents a misleading result later.
Clean up anything broken:
df = df.dropna(subset=['text', 'sentiment'])
df = df.drop_duplicates(subset=['text'])
Step 3: Split the Data
You must evaluate on data the model has never seen. Otherwise you are measuring memorisation, not learning.
from sklearn.model_selection import train_test_split

X = df['text']
y = df['sentiment']

X_train, X_test, y_train, y_test = train_test_split(
    X, y, test_size=0.2, random_state=42, stratify=y
)
Two details worth understanding:
random_state=42makes the split reproducible, so your results do not shift between runs.stratify=ypreserves the class balance in both sets. Without it, a random split can leave your test set skewed.
Step 4: Turn Text Into Numbers
Models do not read text; they process numbers. TF-IDF converts each review into a vector describing which words appear and how distinctive they are.
The intuition: a word appearing in one review but rarely across the whole collection is informative. A word appearing everywhere, like "the", is not.
from sklearn.feature_extraction.text import TfidfVectorizer

vectorizer = TfidfVectorizer(
    max_features=5000,
    ngram_range=(1, 2),
    stop_words='english'
)

X_train_vec = vectorizer.fit_transform(X_train)
X_test_vec = vectorizer.transform(X_test)
The most important line in this tutorial is the difference between those last two.
fit_transform on training data learns the vocabulary and then converts. transform on test data uses the vocabulary already learned. Calling fit_transform on your test set lets information from it leak into training — a mistake called data leakage, and it produces scores that look excellent and collapse in production.
ngram_range=(1, 2) captures word pairs as well as single words, which matters here: "not good" carries the opposite meaning of "good".
Step 5: Train the Model
from sklearn.linear_model import LogisticRegression

model = LogisticRegression(max_iter=1000)
model.fit(X_train_vec, y_train)
Logistic regression is a deliberate choice, not a limitation. On high-dimensional sparse text features it is fast, strong, and interpretable — you can inspect which words drove a decision. Start simple and only add complexity when simple stops working.
Step 6: Evaluate Honestly
from sklearn.metrics import classification_report, confusion_matrix

y_pred = model.predict(X_test_vec)

print(classification_report(y_test, y_pred))
print(confusion_matrix(y_test, y_pred))
Accuracy alone hides problems. The classification report gives you three numbers that matter more:
- Precision — of the reviews predicted positive, how many were actually positive
- Recall — of the actually positive reviews, how many did we catch
- F1 score — the balance between the two
The confusion matrix shows exactly where mistakes fall, which tells you what to fix. On this task, a well-configured model typically lands in the high 80s for accuracy.
Step 7: Predict on New Text
def predict_sentiment(text):
    vec = vectorizer.transform([text])
    prediction = model.predict(vec)[0]
    confidence = model.predict_proba(vec).max()
    return prediction, round(confidence, 3)

print(predict_sentiment("The plot dragged and the acting was wooden."))
print(predict_sentiment("Genuinely moving, I would watch it again."))
Returning confidence alongside the label is a habit worth forming. In a real application you often want to route low-confidence predictions to a human rather than acting on them.
Understanding What the Model Learned
One advantage of a linear model is that you can inspect it:
import numpy as np

feature_names = np.array(vectorizer.get_feature_names_out())
coefficients = model.coef_[0]

top_positive = feature_names[np.argsort(coefficients)[-15:]]
top_negative = feature_names[np.argsort(coefficients)[:15]]

print("Positive signals:", top_positive)
print("Negative signals:", top_negative)
If those word lists look sensible, your model is learning real patterns. If they look arbitrary, something upstream is wrong — often a data problem rather than a model problem.
Where Beginners Go Wrong
Evaluating on training data. Always report scores from held-out data.
Ignoring class imbalance. Check value_counts() before trusting any accuracy figure.
Fitting the vectoriser on everything. The leakage mistake above. It is silent and it inflates every metric.
Jumping to deep learning. A transformer might add a few points here, at far greater cost and complexity. Establish a simple baseline first so you can tell whether complexity is buying anything.
Extending the Project
Once this runs, try changing one thing at a time and observing the effect:
- Swap
LogisticRegressionforLinearSVCorRandomForestClassifier - Adjust
max_featuresand watch how accuracy and training time trade off - Add
class_weight='balanced'if your classes are uneven - Save the model with
jobliband wrap it in a small Flask or FastAPI service
That last step turns a notebook into something you can show people, which matters more for hiring than the model's accuracy. Our guide on building production-ready ML models covers what changes once a model leaves the notebook.
Why This Project Is Worth Finishing
A completed small project teaches more than several unfinished ambitious ones. You now have working knowledge of train/test discipline, feature extraction, evaluation metrics, and data leakage — concepts that transfer directly to image, tabular, and time-series problems.
Put it on GitHub with a short README explaining your choices. Recruiters review repositories, and a clearly explained simple project reads better than an unexplained complicated one.
You will build several projects like this, with guidance, in our Python for AI and Machine Learning course.
Frequently Asked Questions
Q: Do I need a GPU for this project?
A: No. This trains on a normal laptop CPU in under a minute. GPUs matter for deep learning on large datasets, not for classical models on text features.
Q: Where do I find datasets to practise on?
A: Kaggle Datasets and the UCI Machine Learning Repository are the usual starting points, both free.
Q: My accuracy is around 85%. Is that good?
A: For a first sentiment model, yes. Compare it against the baseline of always predicting the majority class — if that baseline scores 50% and you score 85%, your model is genuinely learning.
Q: Should I use ChatGPT to write this code for me?
A: Use it to explain errors and concepts. If you let it write the whole project, you will not develop the debugging ability that the work actually requires.
Scope AI Hub
Verified PublisherAI Education & Research Team
Scope AI Hub is Chennai's leading AI training institute, delivering industry-driven, hands-on AI education since 2019. Our expert team covers Generative AI, Machine Learning, NLP, Data Science, and MLOps.
Ready to Start Your AI Journey?
Join thousands of students who transformed their careers with hands-on AI training at Scope AI Hub.


